There are some kitchen skills that are often intimidating but essential. In our Kitchen Skills series, we hone in on the often underrated skills that can create a masterpiece out of simplicity. This issue, Nineteen61’s pastry chef, Benjamin Vickers, shows how to roast a meal to a crispy perfection. Because simple, classic recipes should never be daunting.
Photography by Jordan Weiland
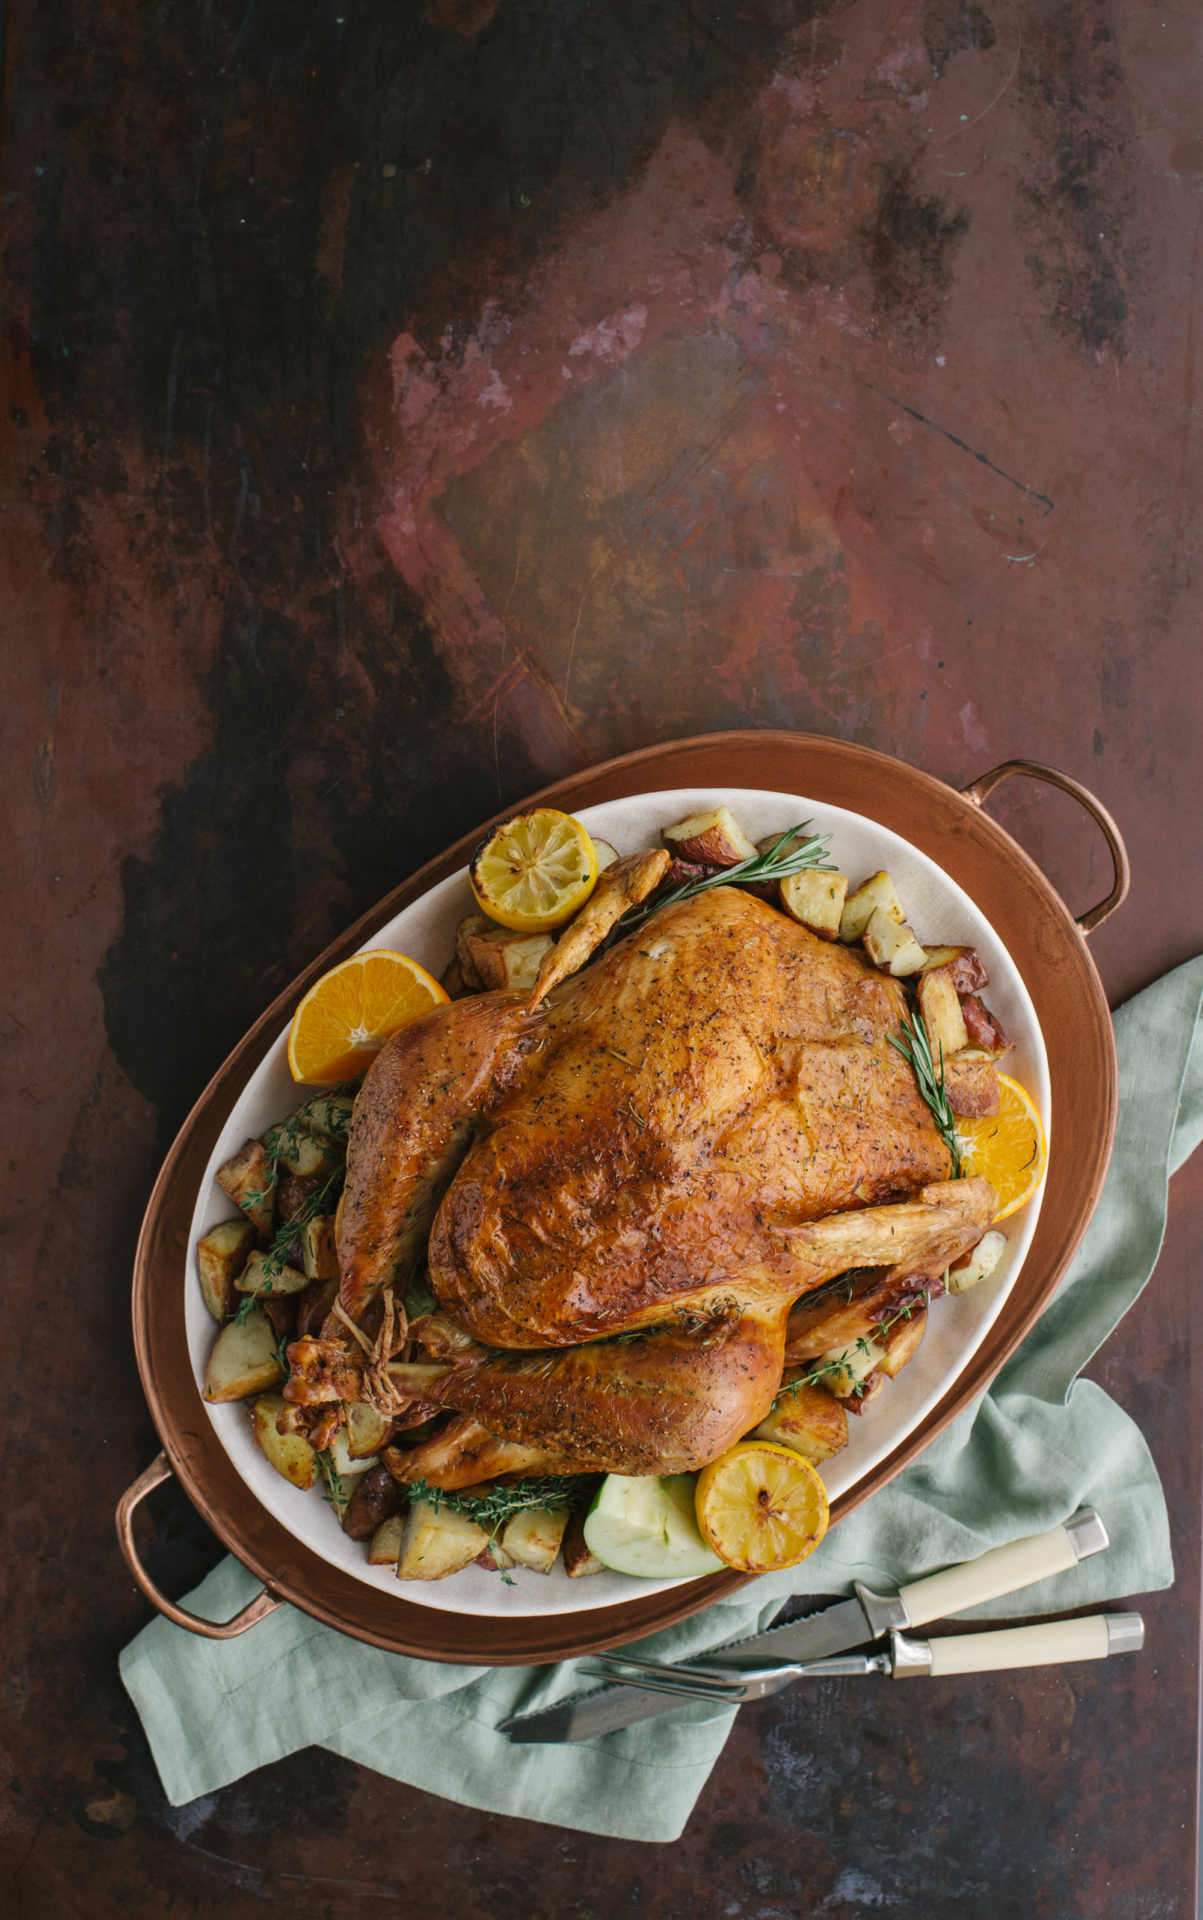
Few activities are more communal and gratifying than preparing food and filling our bellies. Gathering around the hearth for a meal seems like something from an old Campbell’s Soup commercial. This issue’s Taste feature: a detailed look at how roasting a Thanksgiving turkey will reintroduce out-of-practice home cooks to the many pleasures of the kitchen. This classic roasting guide can be broadly applied to a variety of meals; however, your instinct, taste, personality, schedule, and the needs of your family will ultimately guide you to the perfect meal.
Day One: Buying and Brining
STEP 1
Shopping for the star of your Thanksgiving dinner shouldn’t be complicated or stressful. This recipe was developed using a 13-pound young turkey from Roger’s Meat Market and Deli. They keep frozen birds on hand year-round and offer Thanksgiving pre-orders for gorgeous, fresh turkeys. When estimating the size of your bird, one and a half pounds per person is enough to feed your guests and still have enough for round two of turkey heaven the next day.
A common concern for home cooks (besides totally forgetting something in the oven) is having dry, tough meat at the end of the roast. Roasting uses extended cooking time to slowly, evenly heat food, but this method can dry out small cuts of meat or finely cut vegetables. Utilizing a brine is the perfect insurance policy against dry, tough meat and an excellent opportunity to add additional flavor and aromatics.
STEP 2
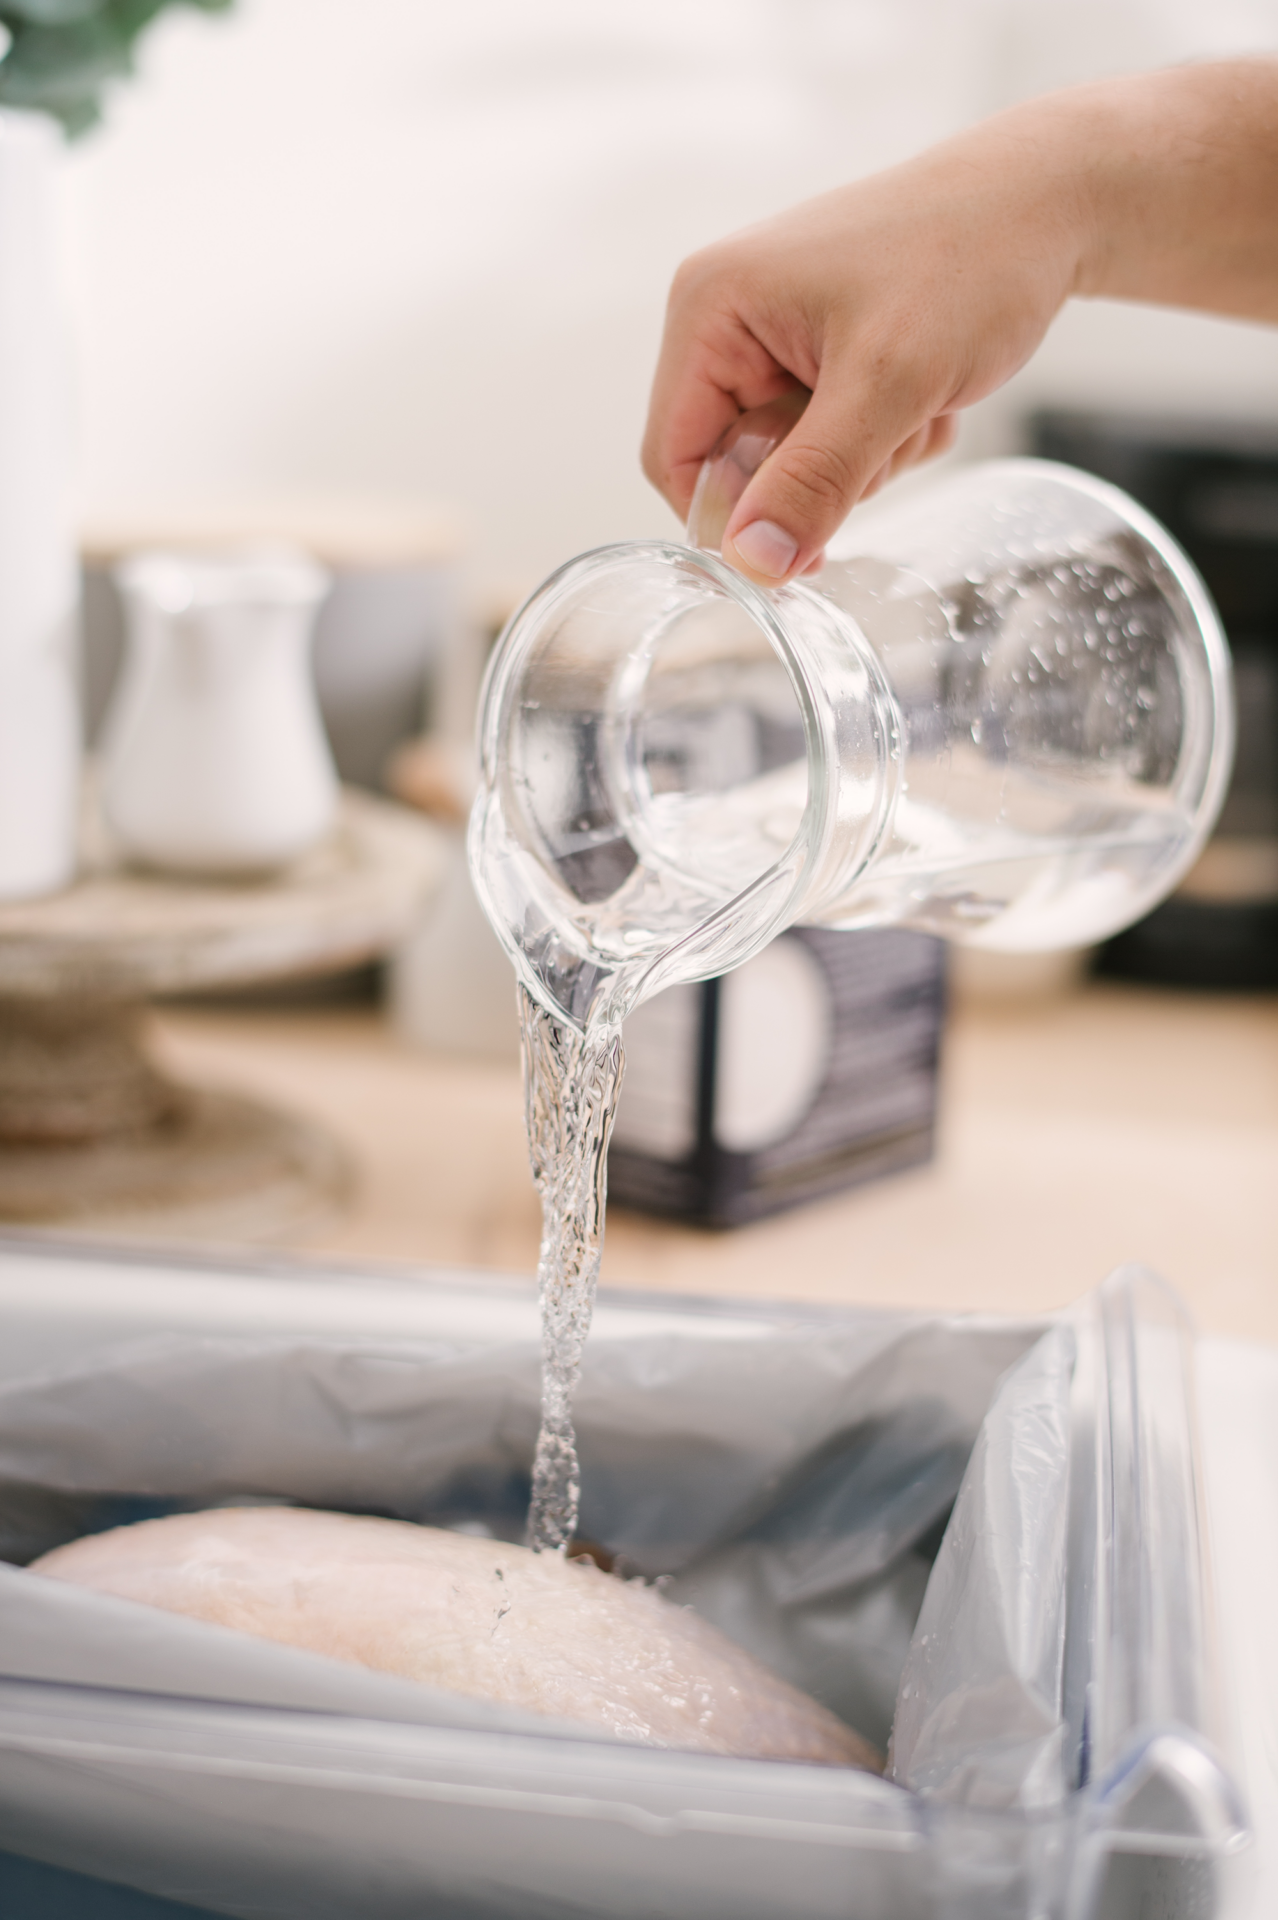
Mix the brine ingredients together (the salt will dissolve by itself, so don’t worry if it’s gritty at first) and pour into a brining bag or sturdy, unscented trash-can liner.
Remove any stray feathers, organs, or neck bone from the raw turkey, and drain the juices from the packaging. Completely submerge it in the brine and store carefully and securely in the fridge, forgotten about until tomorrow.
For brine
2 cups of salt
2 gallons of water
Aromatics such as peppercorns, bay leaves, dried herbs, spices, citrus peel, etc.
Day Two: Drying
STEP 3
Today, your only task (besides chugging pumpkin spice anything and watching leaves change color on Instagram) is to remove the turkey from the brine and pat it dry. Go ahead and place it on the roasting rack in the pan so that air can circulate around it. Store it in the fridge to dry out until you’re ready to roast tomorrow. It can be covered lightly with a plastic bag to protect it from any mishaps, but air circulation is important. Of course a turkey can be roasted on day two, but allowing it to dry for a day will provide a shatteringly crisp and well-browned skin.
“Today, your only task (besides chugging pumpkin spice anything and watching leaves change color on Instagram) is to remove the turkey from the brine and pat it dry.”
Day Three: Roasting
STEP 4
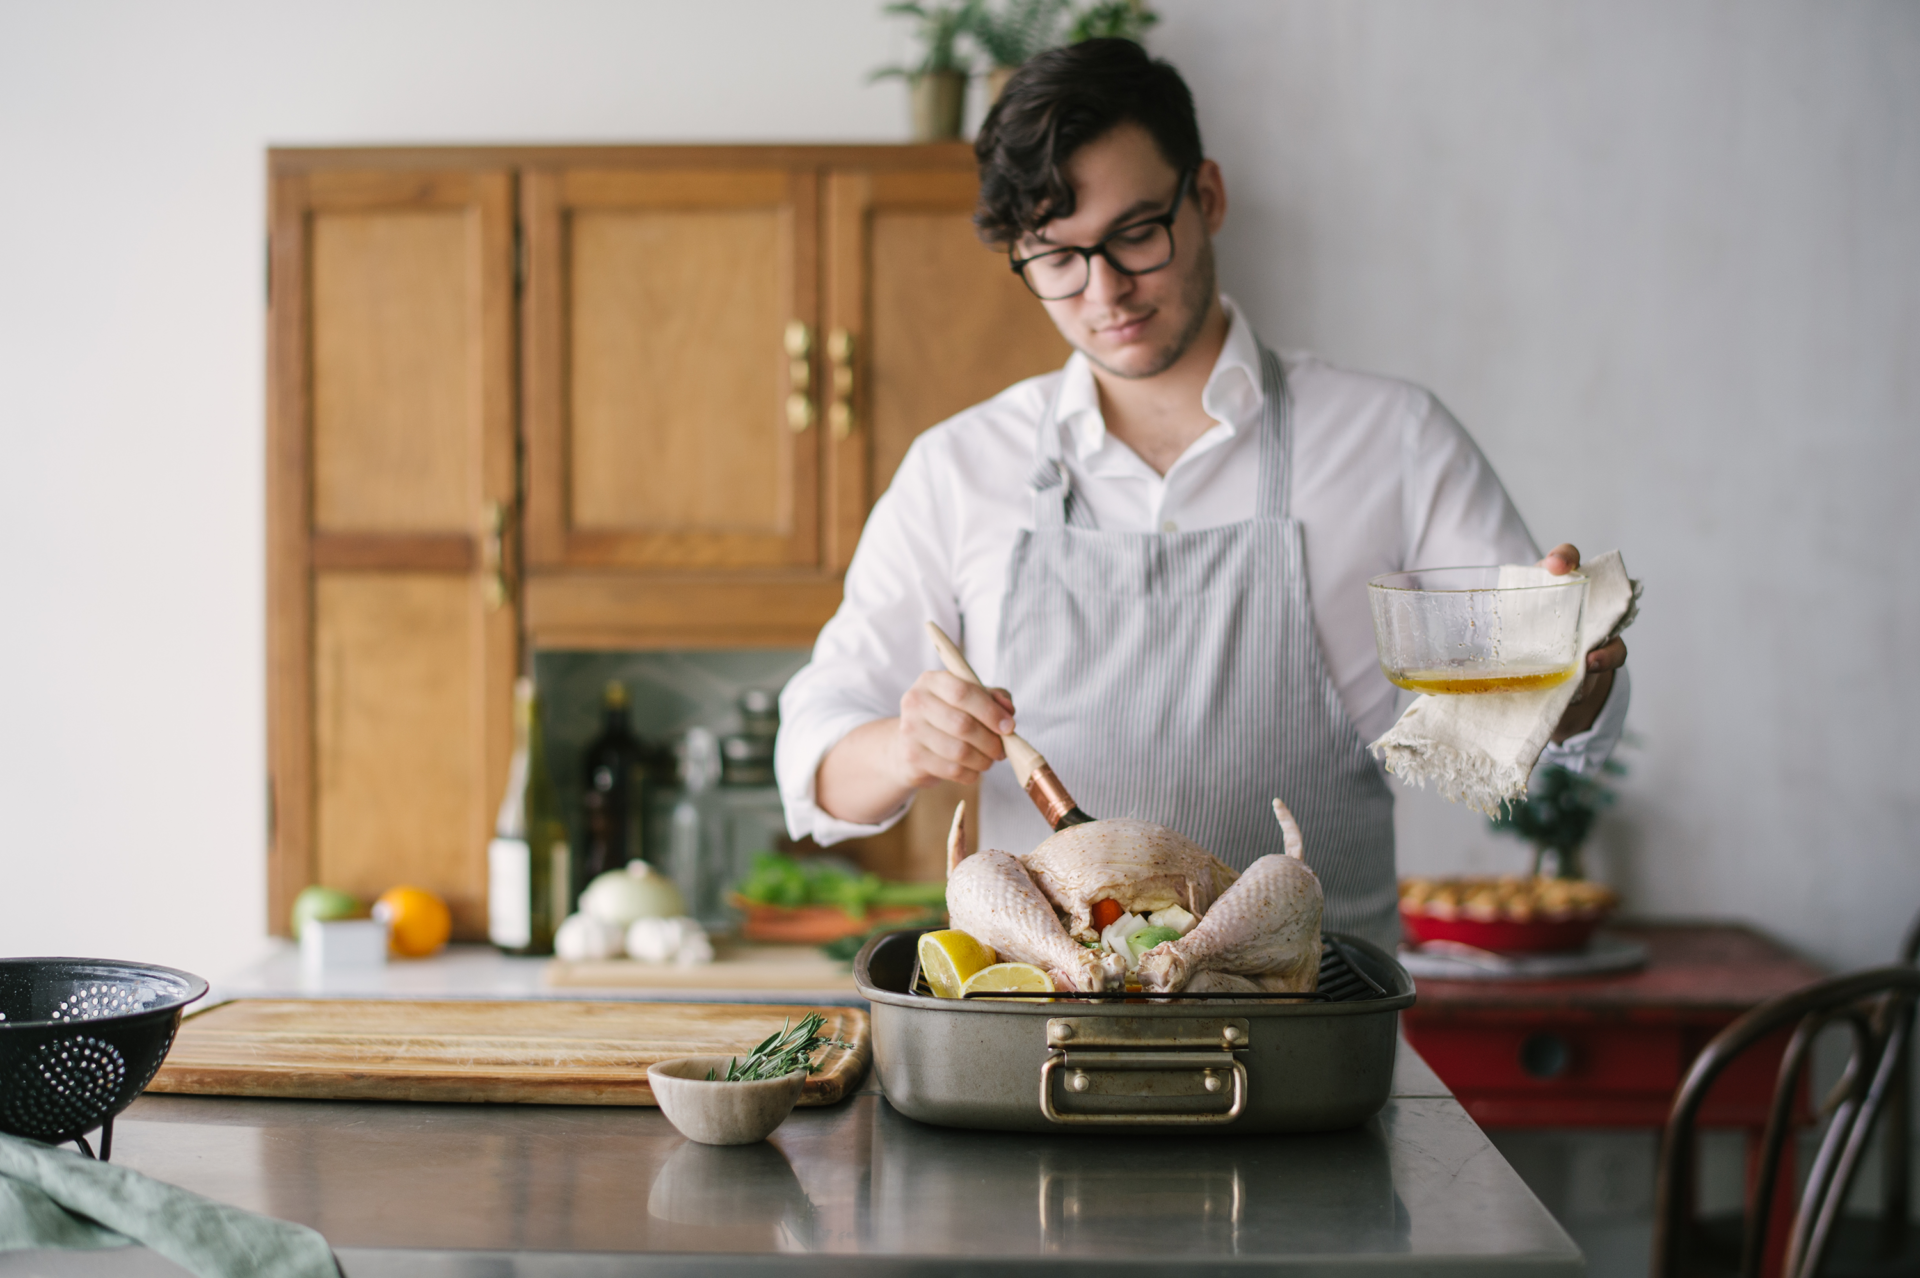
All of your patience is about to pay off! Begin by removing the turkey from the fridge and letting it return to room temperature for an hour. During this time, preheat the oven to 450°F, and prepare the fillings and garnishes.
Preparing the turkey for roasting is a simple and quick task. Coarsely chop the vegetables, preparing enough to fill the cavity and also sit in the bottom of the pan during roasting. Lastly, rub the entire bird with melted butter and season with salt and pepper. Don’t be afraid to be generous with the butter; it won’t make your meat fatty! It instead melts away over the duration of the roast, slowly basting your bird for you along with the steam created by the vegetables in the roasting pan so that you don’t have to constantly pause A Charlie Brown Thanksgiving to peek in the oven.
So… Is everything ready to go?
• The oven has been preheated to 450°F for at least 30 minutes.
• Your turkey has been allowed to return to room temperature.
• The cavity and roasting pan are filled with veggies and stock and wine.
• The skin is rubbed with butter and seasoning.
If so, pop it in the oven and turn the temperature down to 350°F for the duration of the roast. Now, pat yourself on the back. You’ve worked hard for this moment! Let your oven do the rest.
For the cavity
Onion and celery, coarsely chopped
Apple and orange, quartered
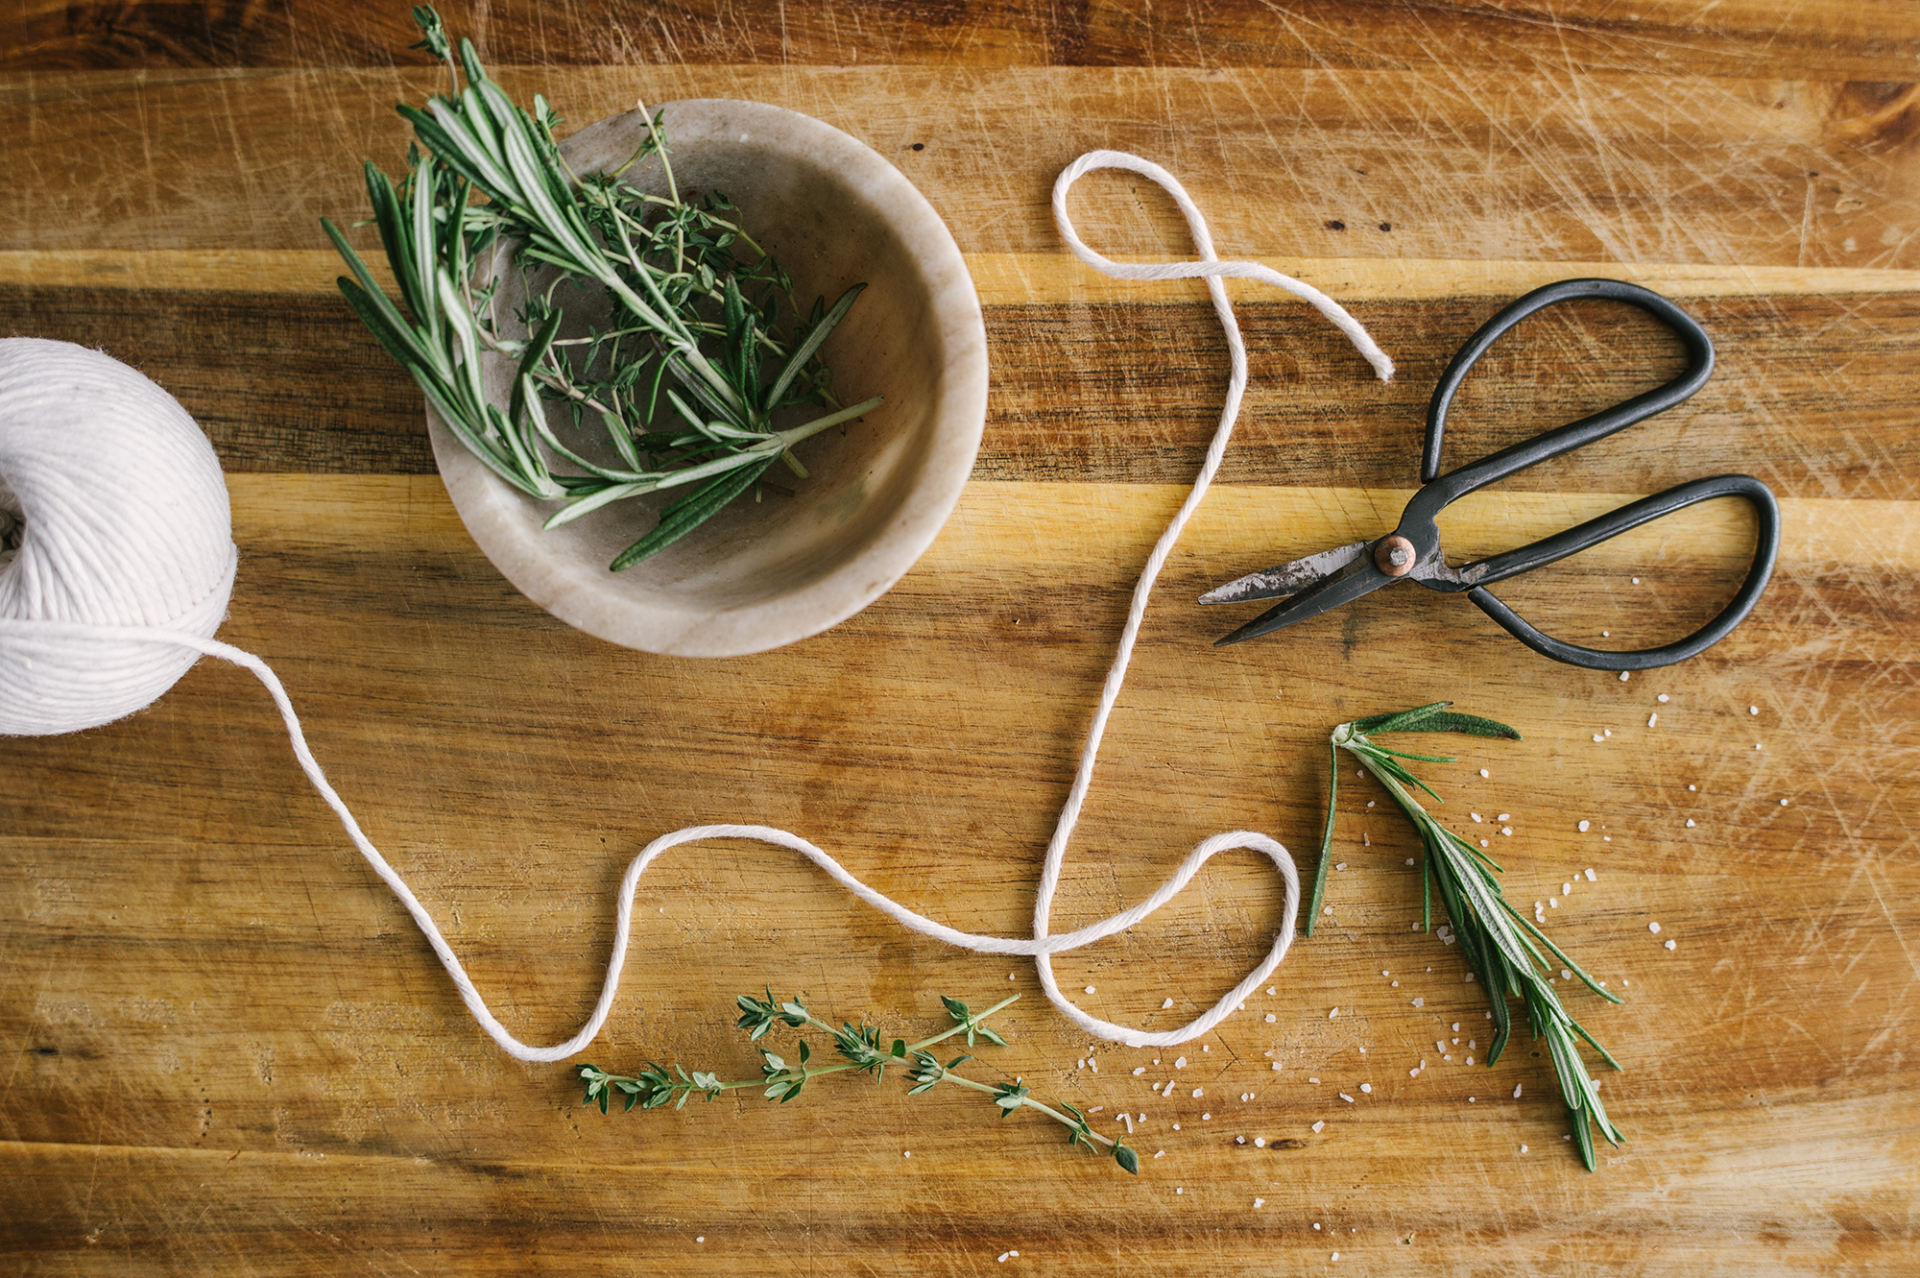
Fresh herbs such as thyme and rosemary
For the bottom of the roasting pan
A good glug of white wine
Another good glug of chicken or vegetable broth
For rubbing over the turkey
Melted unsalted butter
Salt
Freshly ground black pepper
How long should this turkey cook?
STEP 5
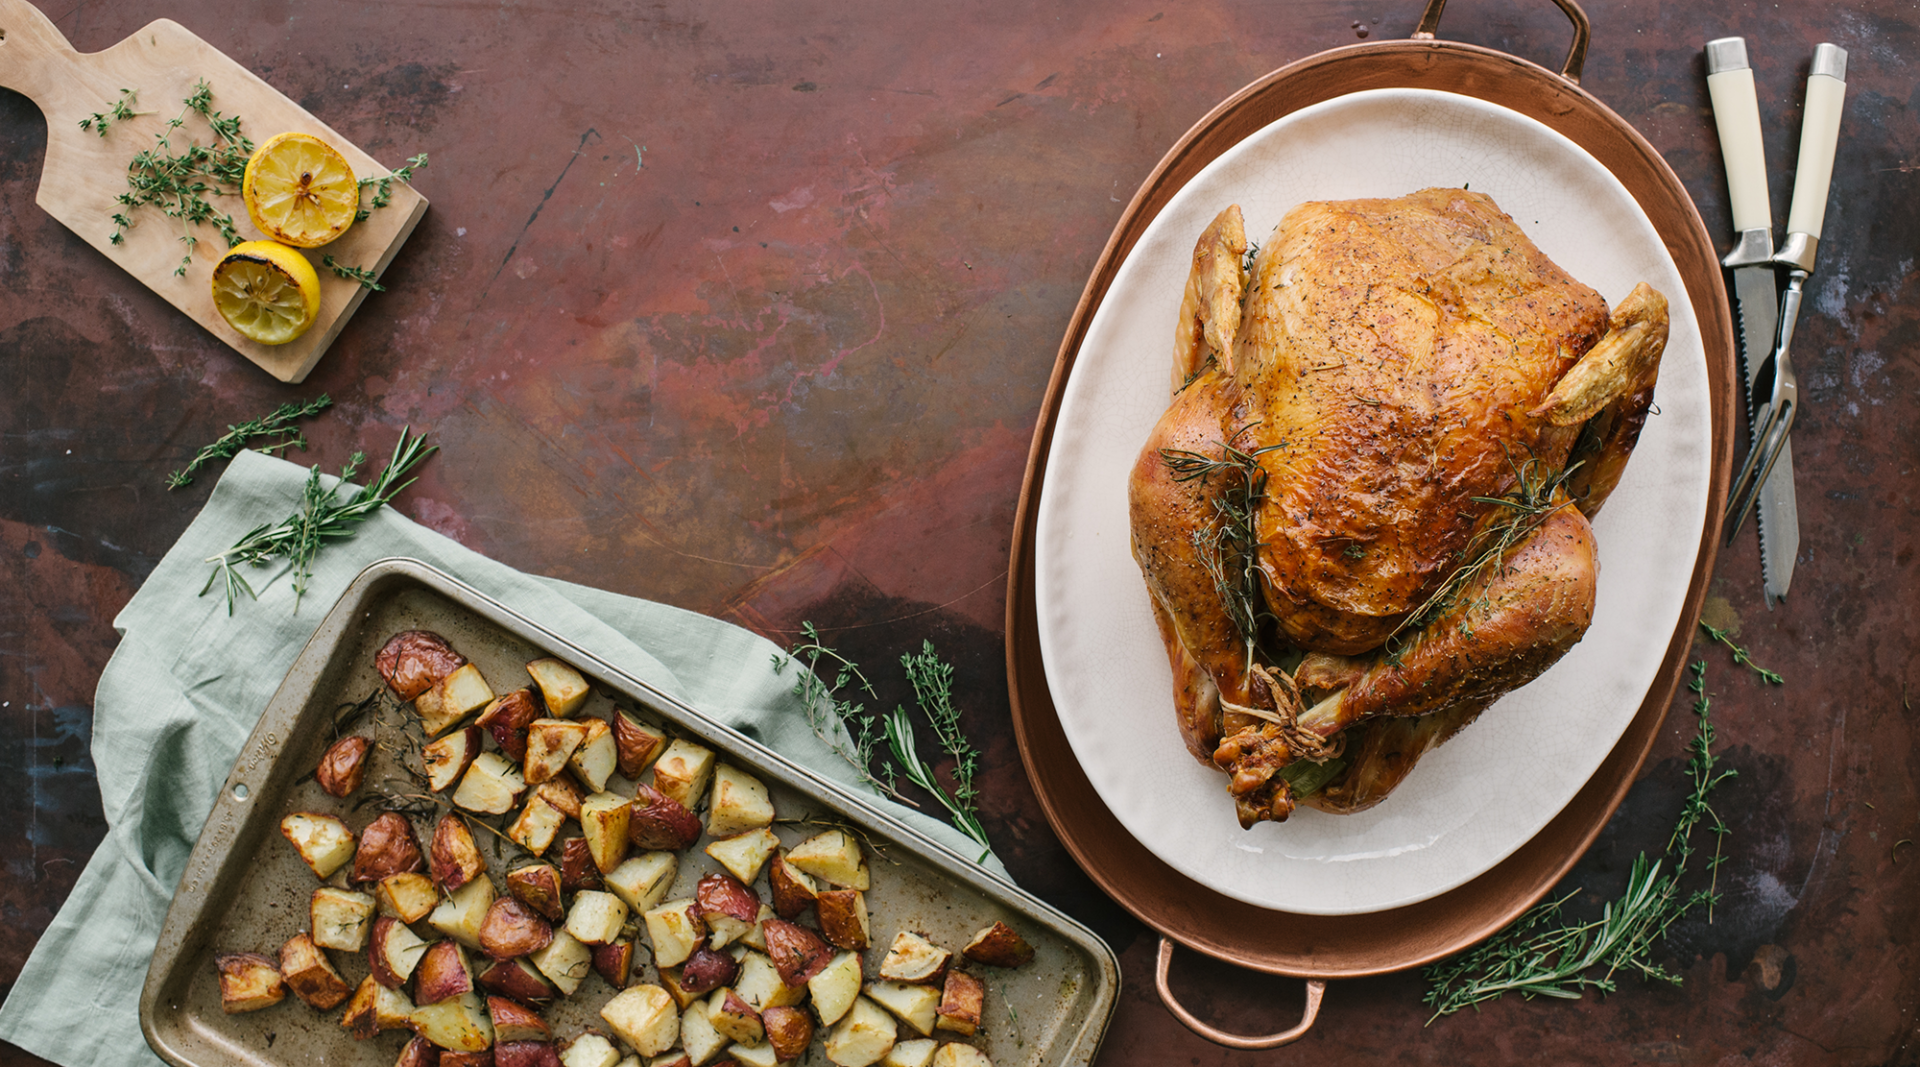
Every piece of meat will be different. The most accurate way to determine doneness is to insert a probe thermometer in the thickest part of the breast and thigh. I like to roast my bird undisturbed for about two hours, then take a temperature to get a sense of how fast it’s cooking. The turkey is ready to take out at 155-160°F. It is critical to let any roasted meat rest at room temperature for at least 20 minutes after removing from the oven. During this time, the temperature will continue to rise and the juices will set. This final resting time is also perfect for using the pan drippings to make a quick gravy. Transfer to a serving platter and dress up your masterpiece for the table to show off your creation. It’s ready to carve up for your family to annihilate.
Sitting together and sharing the bounty of your table is a wonderful way to give thanks for our friends and loved ones. We hope this guide serves you well for many meals to come. Dear Lakelander readers, we are so thankful for your loyalty and friendship. Have a happy Thanksgiving!
[accordion]
[item title=”Apple Pie for a 9” pie tin“]
Apple Pie for a 9” pie tin
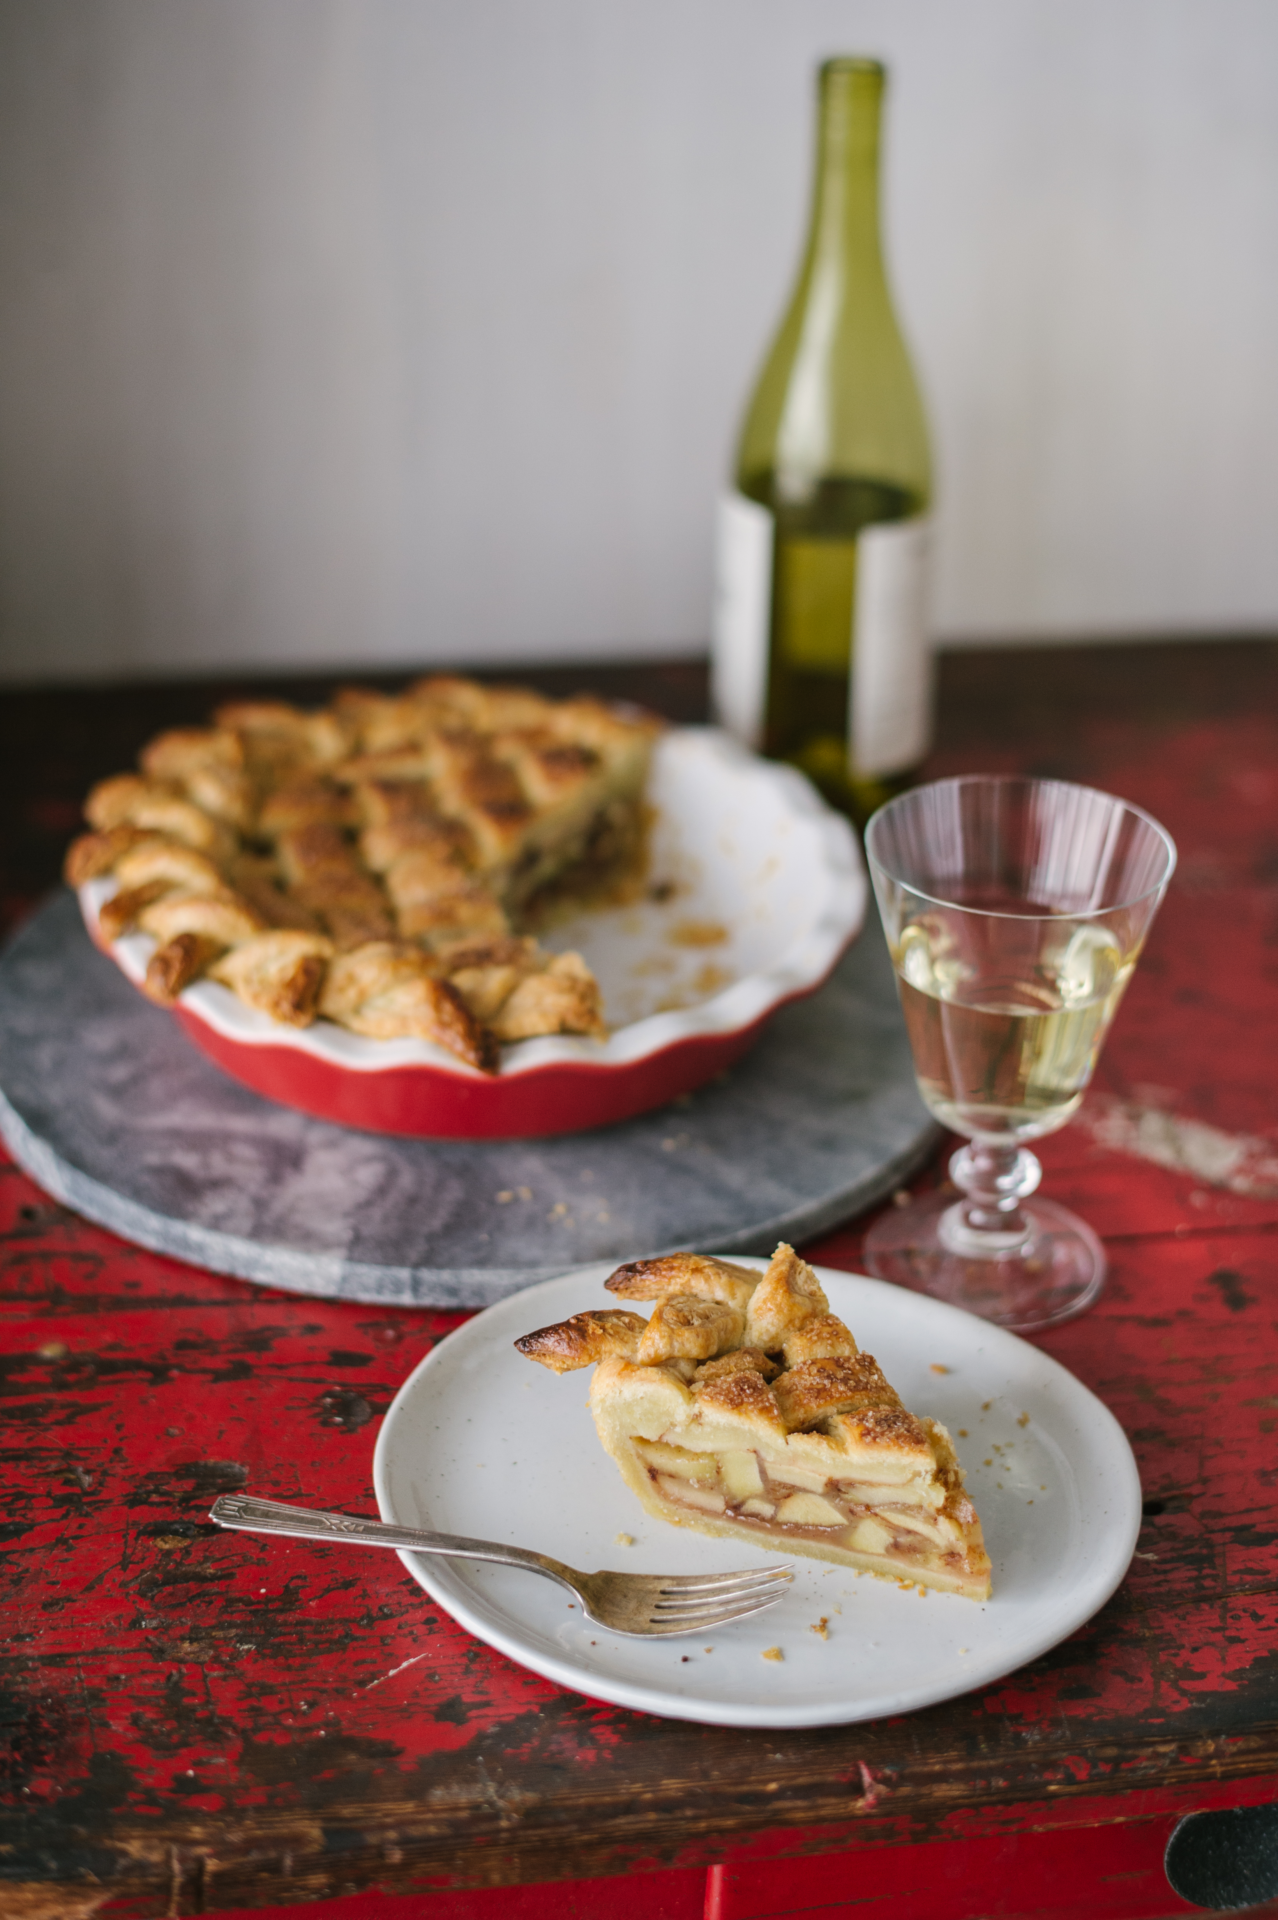
This pie can be baked the day before. When the turkey comes out, turn the oven off and let the apple pie sit in it while you have dinner. It will be warm and ready to slice by the time your table is cleared for dessert! Just don’t forget the ice cream.
Two pie crusts for the top and bottom crust
24 ounces Granny Smith Apples
1 ounce melted butter
1/2 ounce lemon juice
5 ounces sugar
1.5 ounces corn starch
2 teaspoons cinnamon and other spices
1 teaspoon salt
Line the pie crust so that the apple filling can go right in. Don’t make the filling until you are ready to bake. Preheat the oven to 400°F.
Peel and chop the apples into small chunks
Toss the apples with the butter and lemon juice.
Mix the dry ingredients together, then toss into the apple mixture.
Fill the bottom pie crust with the apple mixture and lay the top crust on top. Seal the crusts together, and cut holes in the top to let steam escape during baking.
Brush the top crust with whisked egg and milk, and garnish with raw sugar if desired.
Bake for about 50 minutes, until the crust is beautifully golden and the filling is thickened and bubbling. Let cool completely.
[/item]
[item title=”Roasted Red Potatoes“]
Roasted Red Potatoes
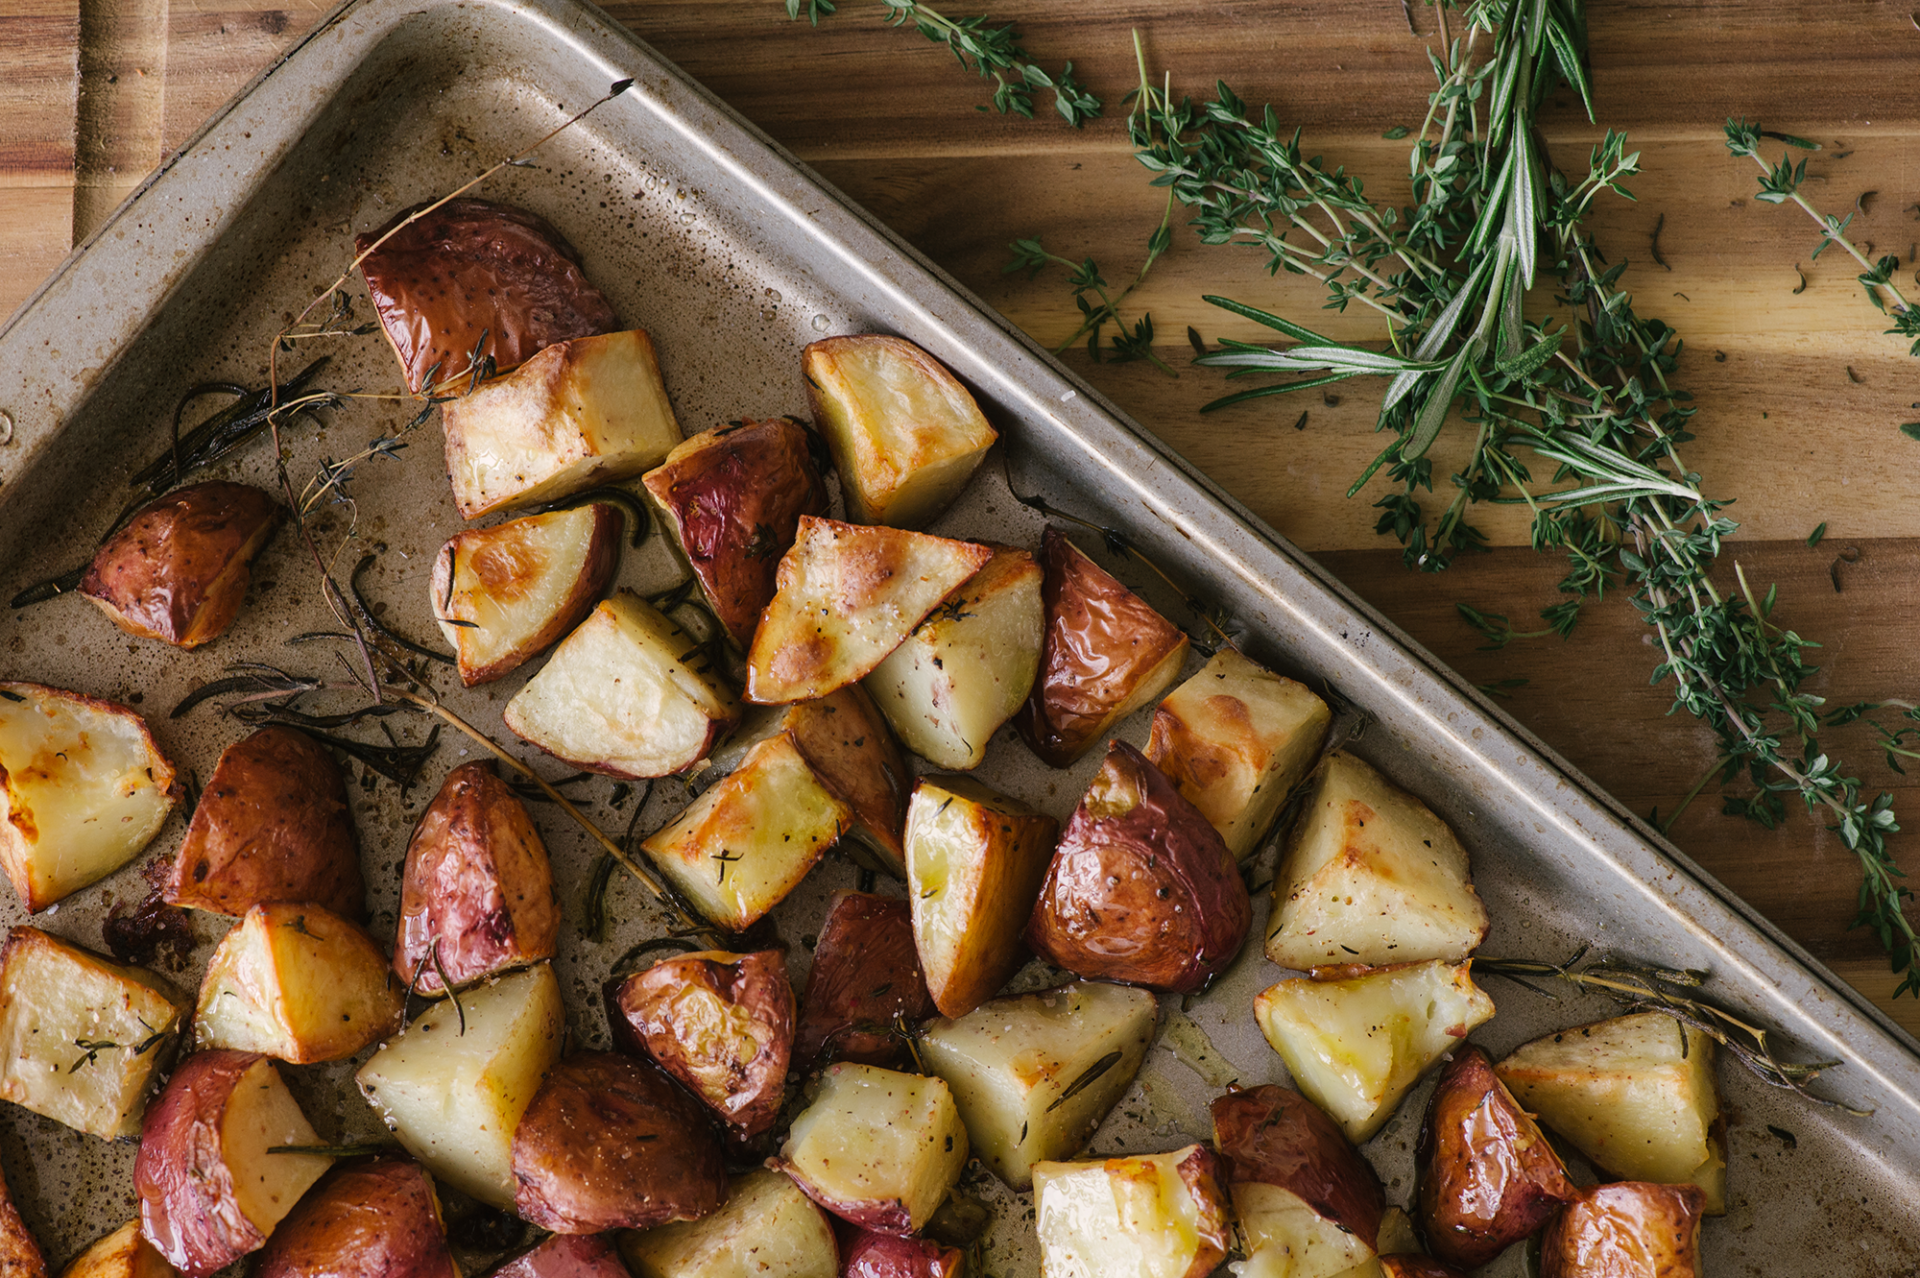
The pan of potatoes can go in the oven during the last hour of your turkey’s roast.
Red potatoes, washed and cut into large chunks
Olive oil
Salt and pepper
Dried or fresh herbs such as thyme or rosemary
Pat the cut, washed potatoes dry and toss with oil so they are evenly coated.
Season with salt, pepper, and herbs as desired.
Line a baking tray in a single layer with the potatoes and roast at 350°F for about an hour, until tender with no starchy flavor.
[/item]
[/accordion]